Website speed is a critical factor in today’s digital era, impacting user experience, search engine rankings, and overall online success. One of the primary culprits behind sluggish websites is excessive HTTP requests. When using WordPress, this can be effectively mitigated with the help of a powerful plugin called Autoptimize. In this article, we’ll delve into the reasons why minimizing WordPress HTTP requests is essential and provide you with a step-by-step guide on how to achieve this using the Autoptimize plugin.
Why Minimize WordPress HTTP Requests?
Faster Page Loading Times: Each HTTP request made to your server consumes time and resources, leading to slower loading times. By reducing the number of requests, you can significantly speed up your website, enhancing user experience and reducing bounce rates.
Improved Page Speed Insights: Search engines like Google consider website speed as a crucial ranking factor. A faster website can improve your PageSpeed Insights score, increasing the likelihood of higher search engine rankings and improved organic traffic.
Enhanced Mobile Experience: With mobile users dominating web traffic, a fast-loading website is essential for mobile users’ satisfaction. Minimizing HTTP requests helps ensure a smooth experience for visitors across all devices.

Step-by-Step how to Minimize WordPress HTTP Requests using Autoptimize:
Step 1: Install and Activate Autoptimize
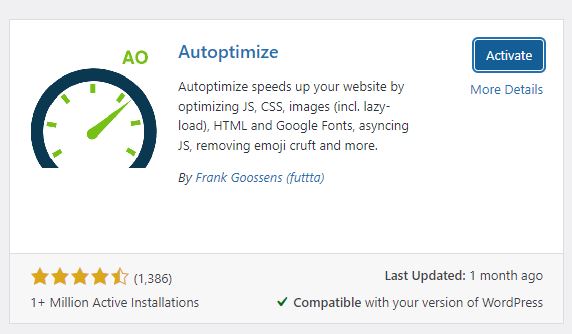
Login to your WordPress dashboard, navigate to “Plugins” on the left menu, and click “Add New.” Search for “Autoptimize” in the search bar, and once you find it, click “Install Now.” After installation, activate the plugin.
You can also download the plugin for manual installation here.
See my guide on how to install a WordPress plugin if you dont know how to install a plugin.


Step 2: Access Autoptimize Settings
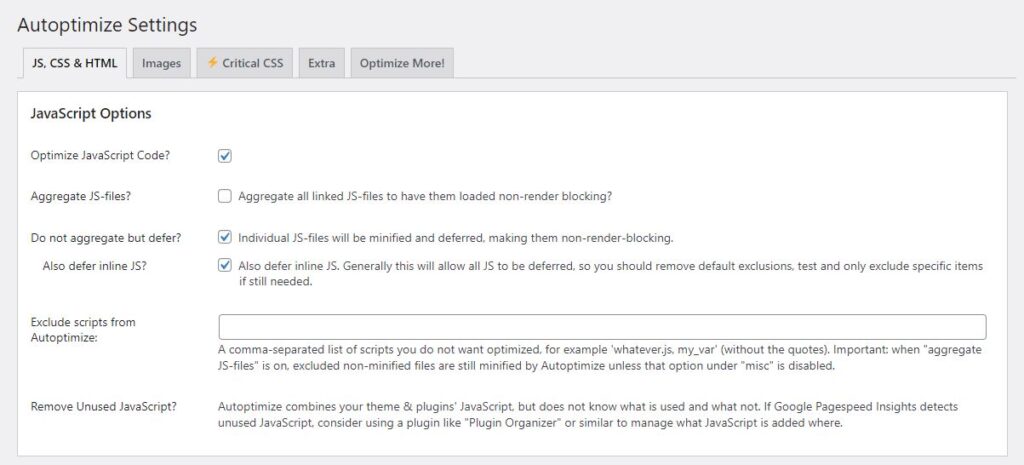
Once activated, go to “Settings” on the WordPress dashboard and select “Autoptimize.” You will be directed to the plugin’s settings page.
Step 3: Optimize HTML, CSS, and JavaScript
In the Autoptimize settings, enable “Optimize HTML Code,” “Optimize CSS Code,” and “Optimize JavaScript Code” options. This will automatically aggregate and minimize these resources, reducing the number of HTTP requests.
Step 4: Enable JavaScript Options
Scroll down to the “JavaScript Options” section. Enable “Optimize JavaScript Code” to aggregate and minimize all JavaScript files. You can also enable “Force JavaScript in head” for better performance in certain cases.


Step 5: Enable CSS Options
Proceed to the “CSS Options” section. Enable “Optimize CSS Code” to combine and minimize CSS files. Additionally, enable “Inline all CSS?” to insert small CSS files directly into the HTML document, further reducing requests.
Step 6: Configure Miscellaneous Options
In the “Misc Options” section, consider enabling “Optimize Google Fonts” to host Google Fonts locally, reducing external requests. You can also check “Remove emoji styles and scripts” and “Remove WordPress core emoji styles and scripts” to trim unnecessary emoji-related files.
Step 7: Save Changes and Test
Click on the “Save Changes and Empty Cache” button to apply your settings and clear the cache. It’s essential to test your website thoroughly after making changes to ensure everything functions correctly.

Optimizing WordPress HTTP requests using Autoptimize is a powerful strategy to improve website speed, boost search engine rankings, and enhance user experience. By following the step-by-step guide above, you can easily implement these optimizations and see a noticeable difference in your website’s loading times. Remember to regularly monitor your website’s performance and update both Autoptimize and other plugins to ensure your WordPress site maintains its optimized state. With a faster and more efficient website, you can create a seamless browsing experience that keeps visitors engaged and coming back for more.
Test your website at;


