In the visually-driven digital landscape, images play a pivotal role in engaging online audiences. However, large image files can bog down your website’s loading times, leading to a negative impact on user experience and search engine rankings. To overcome this challenge, image optimization and compression become essential. In this article, we will explore the importance of optimizing and compressing images and provide a step-by-step guide on how to achieve this effectively using the Smush plugin.
Why Optimize and Compress Images?
Faster Loading Times: Large image files contribute to slow page loading times, leading to higher bounce rates and lower user engagement. By optimizing and compressing images, you can significantly improve your website’s speed, providing visitors with a seamless browsing experience.
Improved SEO Ranking: Search engines consider page loading speed as a crucial ranking factor. By reducing image file sizes, you enhance your website’s performance, resulting in better search engine rankings and increased organic traffic.
Mobile Responsiveness: With the majority of internet users browsing on mobile devices, optimizing images ensures your website is mobile-friendly and accessible to a broader audience.

Step-by-Step Guide to Optimize and Compress Images with Smush:
Step 1: Install and Activate Smush
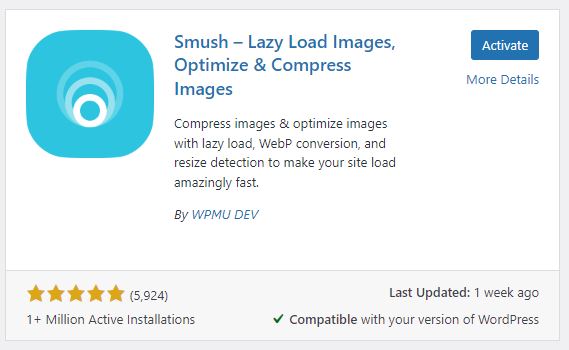
Log in to your WordPress dashboard, navigate to “Plugins,” and click “Add New.” Search for “Smush” in the search bar, then click “Install Now.” After installation, activate the plugin.
Step 2: Access Smush Settings
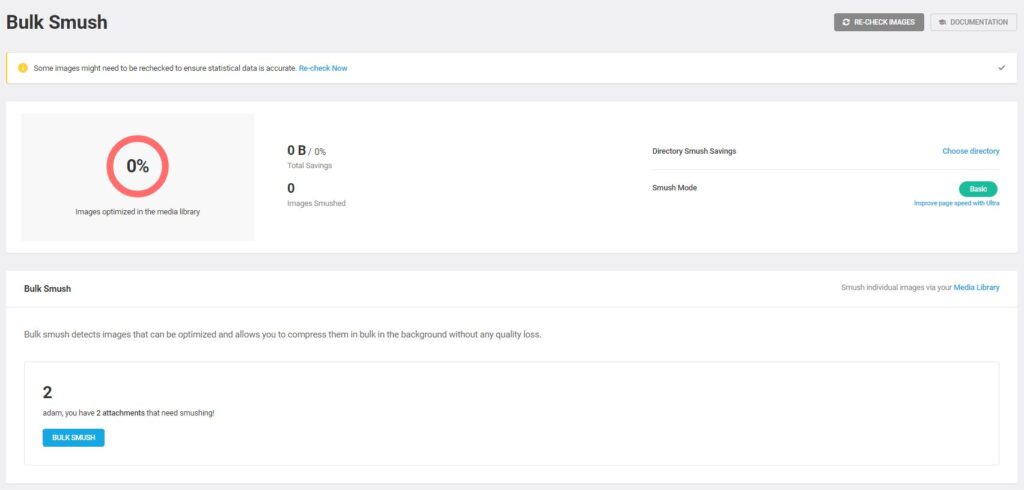
Once activated, go to “Smush” > “Bulk Smush.” You will be directed to the Bulk Smush settings page.
Step 3: Choose Compression Options
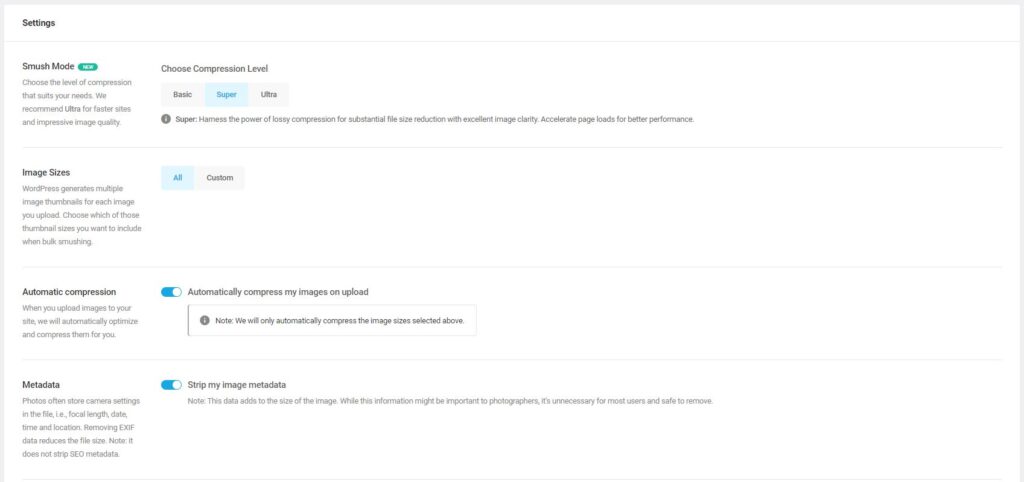
Within the Smush settings, you can fine-tune your compression options. For example, you can choose between lossless and lossy compression. Lossless compression retains image quality but may result in smaller file size reductions, while lossy compression achieves higher compression rates but may slightly impact visual quality. Experiment with the settings to find the right balance for your website.
To ensure new images are automatically optimized, access the “Settings” tab in the Smush plugin. Under “Auto Smush,” toggle the “Automatically smush my images on upload” option. With this setting enabled, Smush will automatically compress images as you upload them to your media library.
Enable the option to Strip my image metadata, as this can reduce file size dramatically if youve uploaded raw images.
Step 4: Bulk Image Optimization
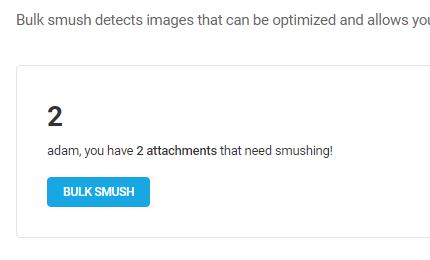
At the top of the Bulk Smush page, you’ll see a list of all your media files. Click on the “Bulk Smush Now” button to begin the optimization process. Smush will automatically compress the images, reducing their file sizes without compromising visual quality.

Optional: Compress Individual Images
If you want to optimize specific images, you can do so directly from the media library. Click on an image to view its details, and then click the “Smush Now” button. Smush will compress the selected image, and you can repeat this process for other images as needed.
Optimizing and compressing images with Smush is a simple yet effective way to improve your website’s performance and enhance user experience. By following the step-by-step guide above, you can effortlessly reduce image file sizes without sacrificing visual quality. Remember to regularly optimize both existing and new images to maintain a fast-loading, visually appealing website. With Smush at your disposal, you can unlock the full potential of your website’s visual content while ensuring it loads at lightning speed, attracting and retaining more visitors and boosting your SEO efforts.

