Here is a step-by-step guide on how to restore a WordPress backup using UpdraftPlus:
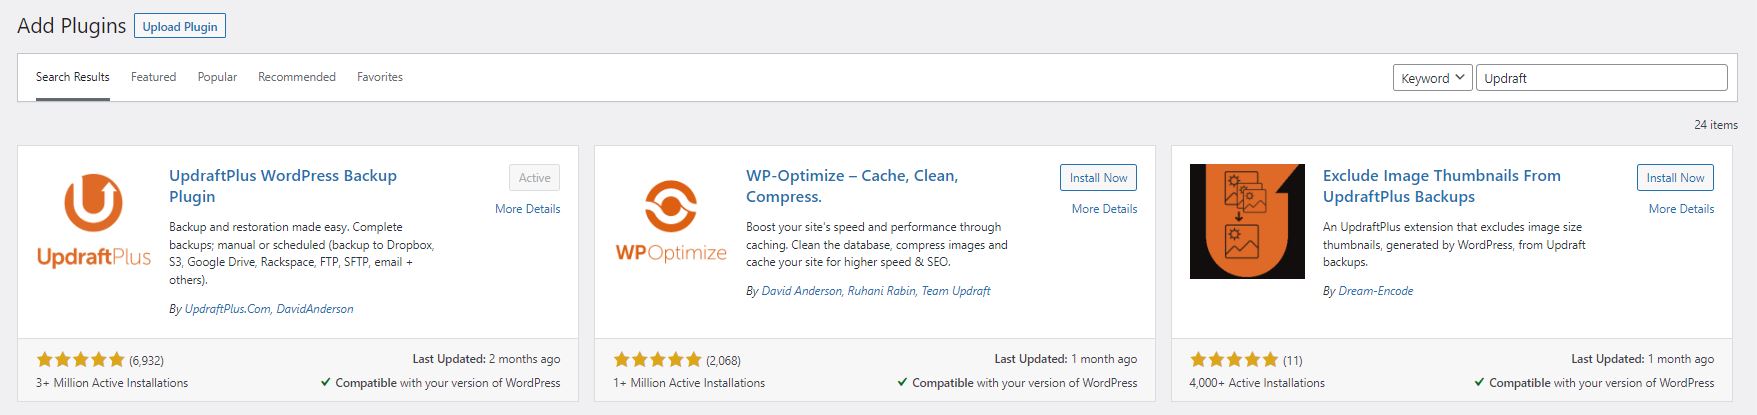
This tutorial assumes you have already installed and activated Updraft Plus, as well as created a backup. If you havent already done this, please see my previous support articles on how to install a WordPress plugin, and how to create a backup using Updraft Plus.
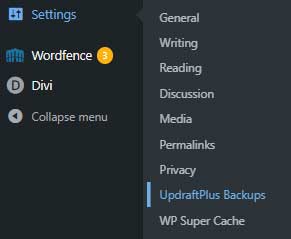
Step 1
Go to the “Settings” tab on the left-hand side of the WordPress dashboard and click on “UpdraftPlus Backups”.
Step 2
a) Click on the “Existing Backups” tab.
b) Select the backup that you want to restore and click on the “Restore” button next to it.

You will be taken to the “Restore” page. Here, you can choose which components of your website you want to restore, such as the database, plugins, themes, uploads, etc.
a) Select the components that you want to restore and click on the “Next” button.
b) There will be another pages where you can choose to exclude options like database tables from the restoral, this can be used to exclude sales data from being taken back in time as an example.
c) Once youve clicked next through the options, click “Restore”
Wait for the restore process to complete. This may take several minutes, depending on the size of your backup.


Once the restore process is complete, you should see a success message.
Check your website to make sure that everything is working correctly. You will need to log in again.

Congratulations! You have now successfully restored your WordPress backup using UpdraftPlus.