

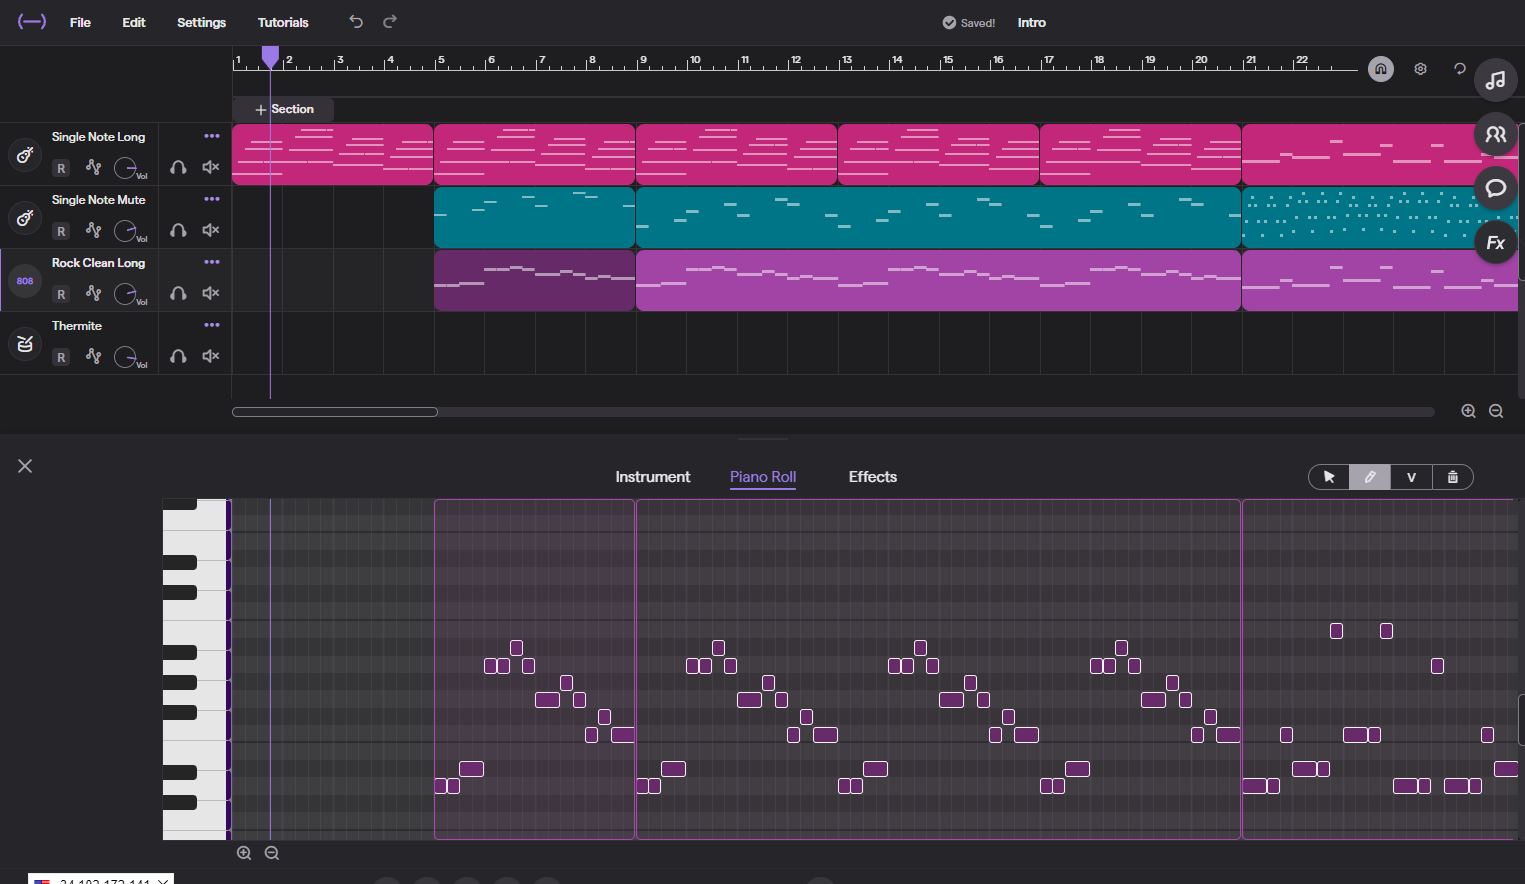
If you’ve ever wanted to create your own music but feel intimidated by the thought of playing an instrument or...
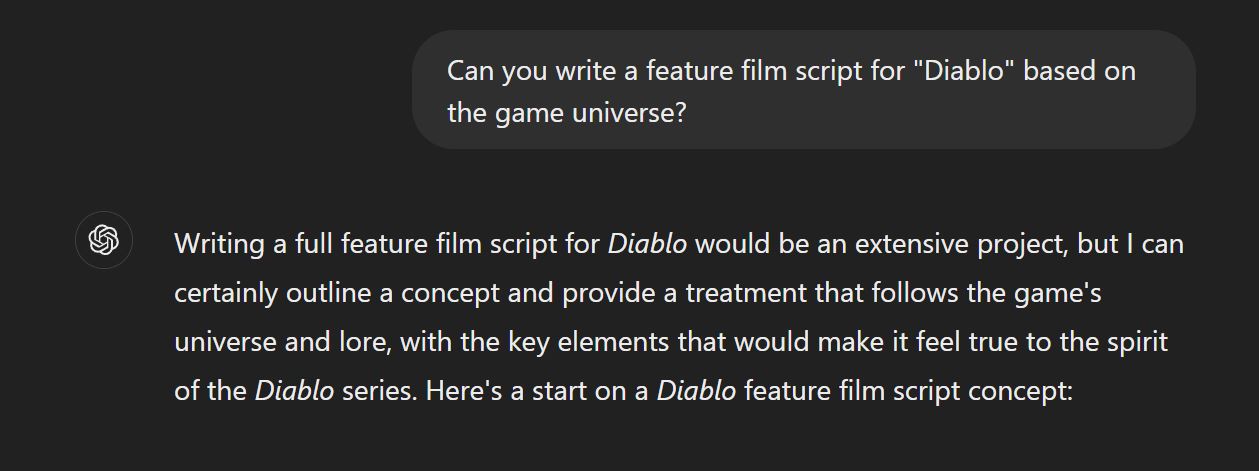
In today’s world, AI is becoming more accessible and capable than ever, assisting us in everything from automating mundane tasks...
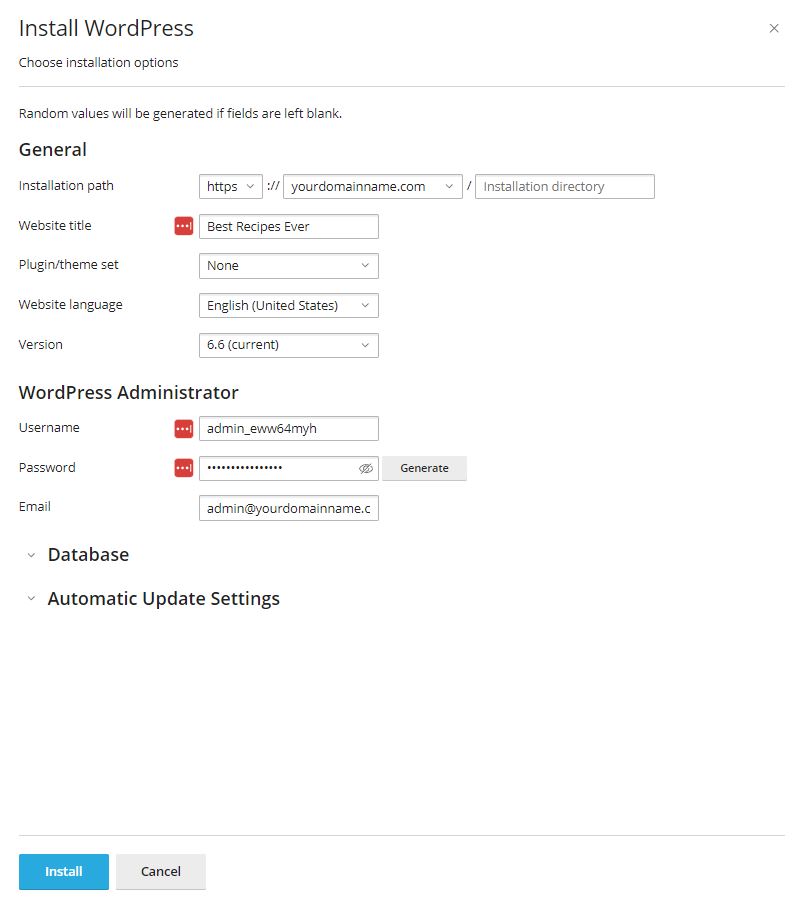
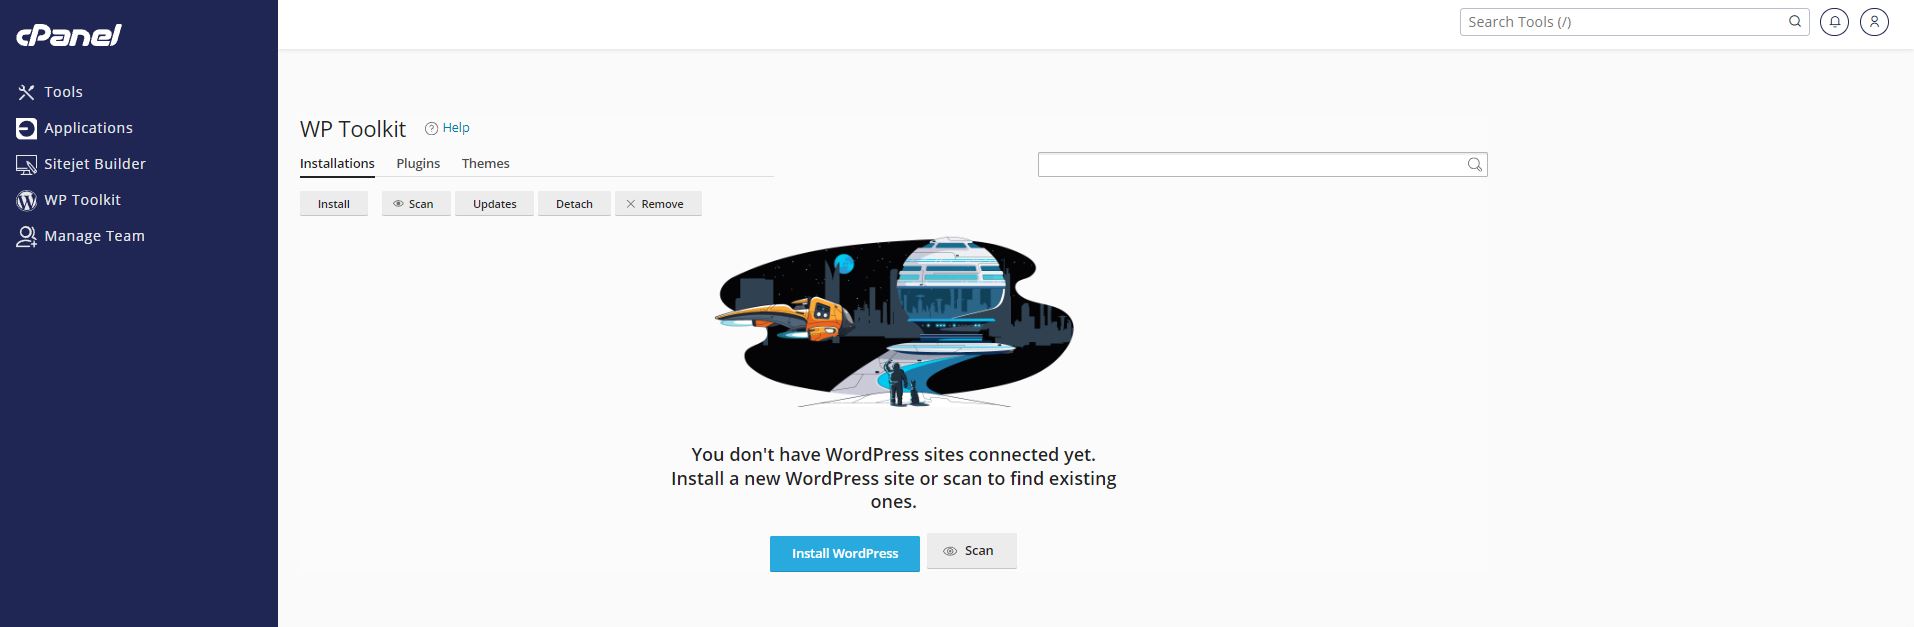
Are you looking to simplify the installation and management of your WordPress site? cPanel’s WordPress Toolkit is an all-in-one management...