Here is a step-by-step guide on how to install Wordfence and set up with a free license:
Step 1
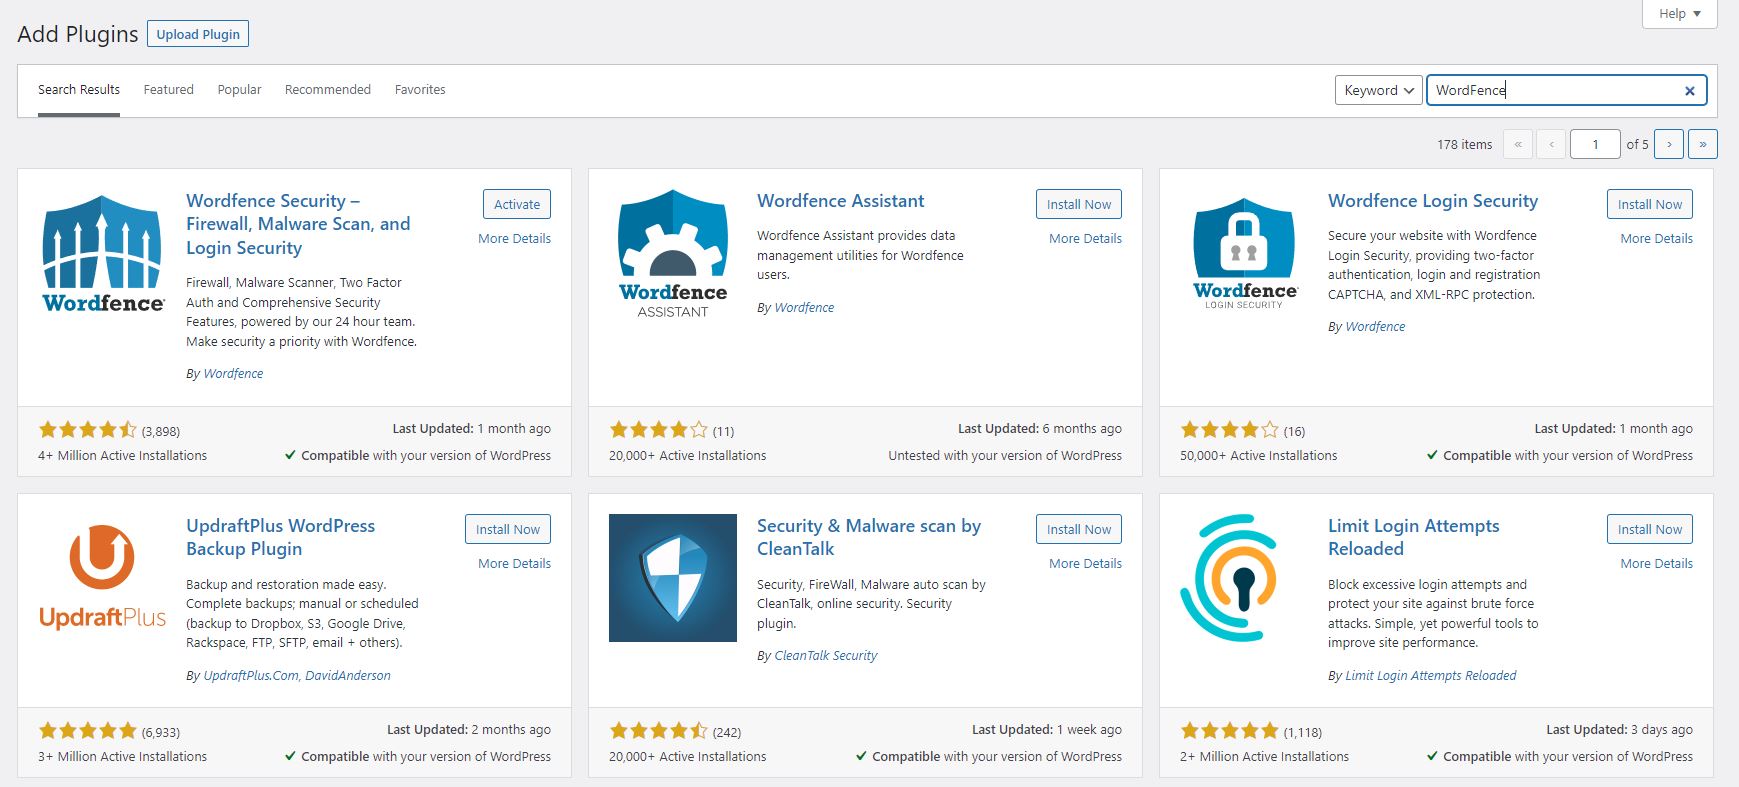
Step 1: Log Into WordPress Admin Dashboard and install WordFence and activate the plugin.
It can be downloaded from here or from the WordPress admin dashboard. If you dont know how to install a plugin, view our tutorial here.
Step 2
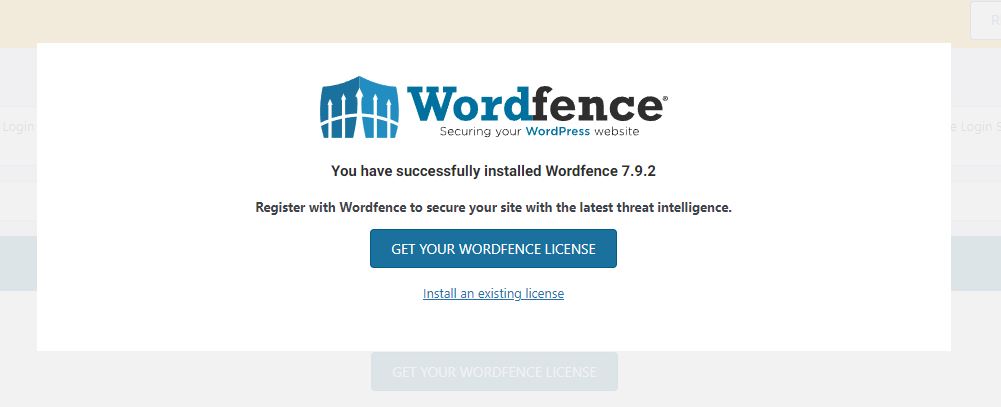
a) Once activated, Wordfence will ask you to “Get your WordFence License” click here.
b) Select a free license and confirm that “I’m OK waiting 30 days for protection from threats”
c) Enter your email, and confirm the Terms and Conditions. A license key will be sent to that email address.

Step 3
Check your email.
You will have an email with a button to “Install My License Automatically”, click here and it will take you to WordFence to enter and activate your Free License.

Additional Information
- Click on the “Dashboard” tab to access the Wordfence dashboard. Here, you can configure the security options to fit your needs. You can also run scans, view the activity log, and manage blocked IPs.
Congratulations! You have now successfully installed and set up Wordfence with a free license.